How I incorporate tape and wax resist with Raku.
L to R: tape resist, wax resist, tape resist
When it comes to Raku firing, incorporating tape or wax resist can add interesting design elements to my ceramic pieces. Here's my step-by-step process:
Step One:
First, I ensure that each bisqueware (a term for pieces that have been bisqued – fired for the first time) piece is thoroughly dry and clean, providing a secure foundation for the application of tape or wax.
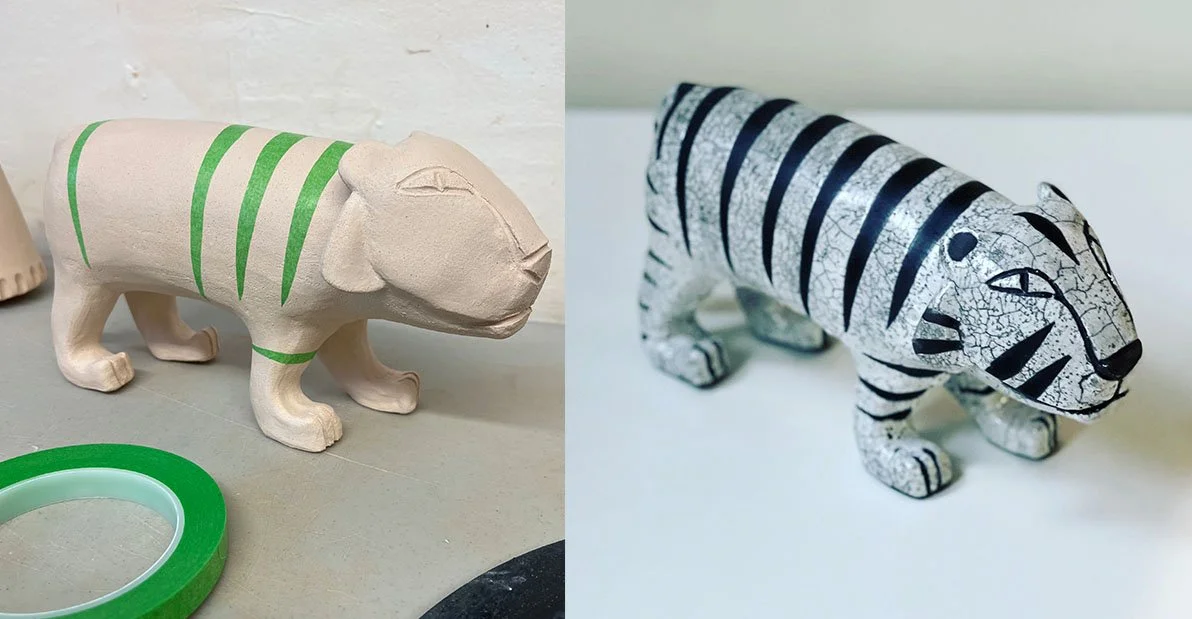
Tape resist used for Raku tiger.
Step Two:
Next, I decide on a design or pattern.
Step Three:
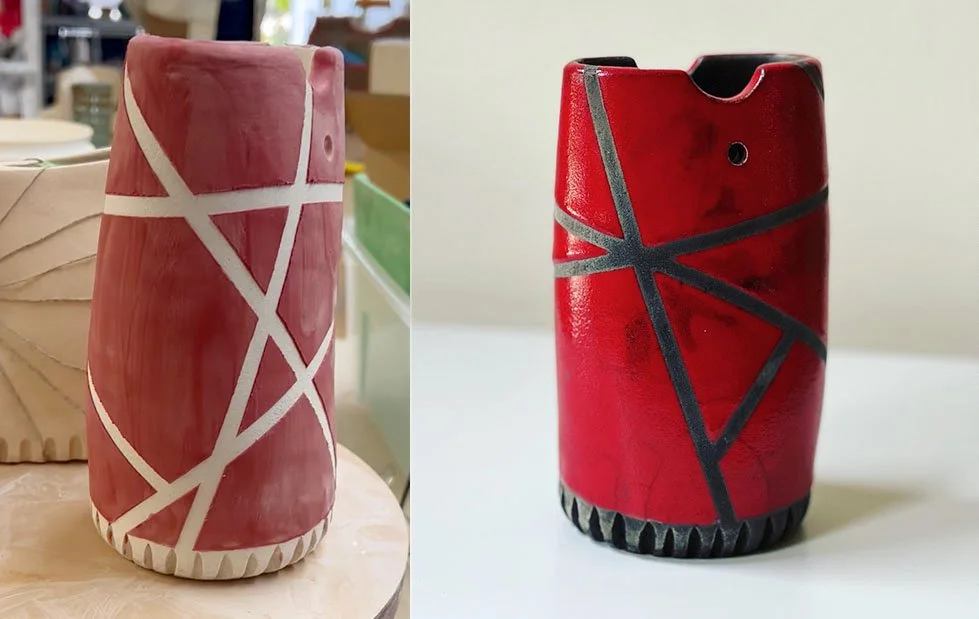
For tape resist, I use auto detailing tape (my preference because it’s available in various widths), scissors and an X-acto knife. I meticulously cut and apply tape to the areas I want to protect from glazes or other treatments. Once the tape is affixed, I then glaze the entire piece. Just before the glaze fully dries, I delicately remove the tape, revealing the glaze-free clay body.
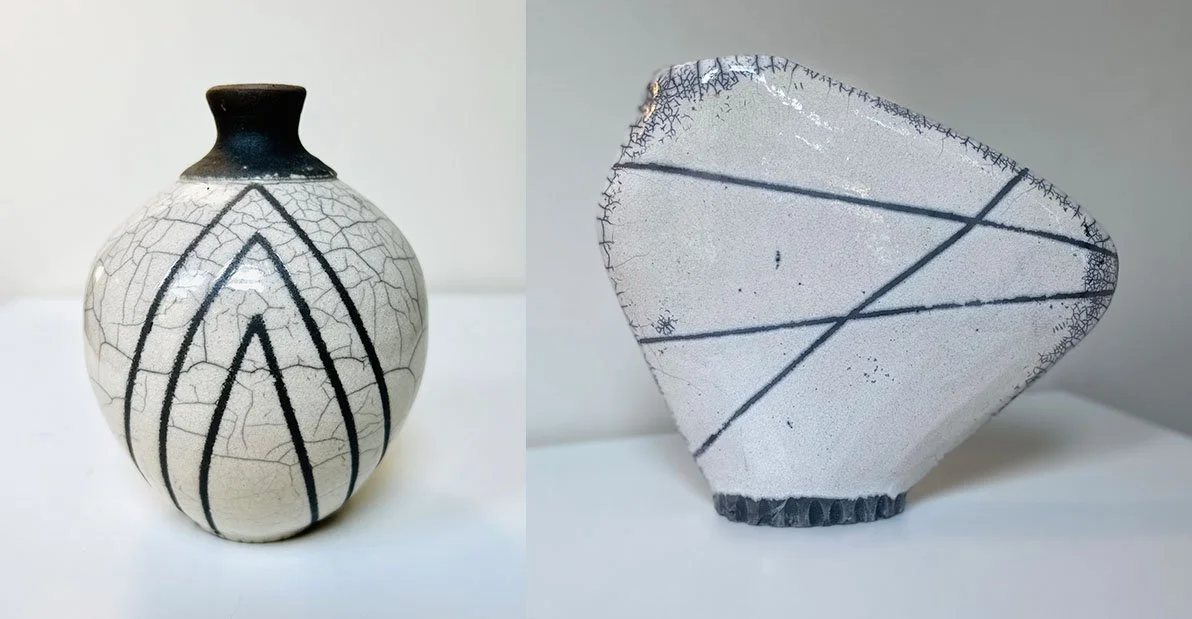
For wax resist, I sketch the design with a pencil (as it will burn off during firing). Then, I carefully apply wax using a paintbrush, ensuring it remains confined to the intended areas. After the wax dries completely, the piece is ready to be glazed or just fired.
Tape resist with red Raku glaze.
Step Four:
During the Raku firing, areas previously treated with tape resist or wax reveal a striking transformation, turning black or dark gray as a result of the smoke and fire.
This technique allows me to experiment with contrasting surfaces and colors to create unique visual effects. It is an optional step that gives you some degree of design control during an alternative firing process that is inherently unpredictable.
Other samples of Raku pieces using tape resist.
Shop available Raku here.


